.png)


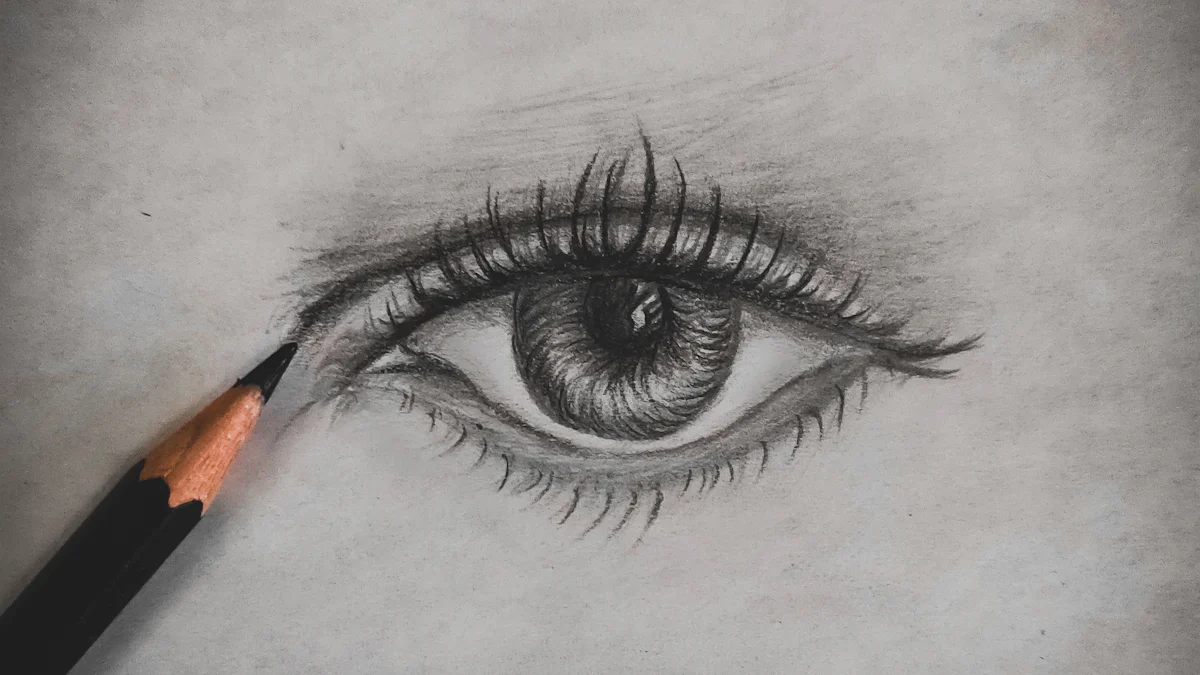
Have you ever wondered how to make an eye symbol in Google Slides to make your presentations stand out? Adding custom symbols, like an eye symbol, can elevate your slides by conveying ideas and emotions without relying on words. Whether you’re designing privacy icons or adding creative flair, symbols like these enhance the visual appeal of your presentation. Plus, they’re easy to customize to fit your theme perfectly.
If you’re curious about how to make an eye symbol in Google Slides, you’ll be glad to know it’s simpler than you might expect. Use it to create attention-grabbing titles or add a unique element to your storytelling. With just a few steps, you can craft a symbol that leaves a lasting impression on your audience. Ready to learn how to make an eye symbol in Google Slides? Let’s get started!
Before you can create an eye symbol, you need to open Google Slides. If you already have a presentation, open it from your Google Drive. For a new project, head to the Google Slides homepage and click the blank slide option. This gives you a fresh canvas to work on.
Once your presentation is open, decide where you want to place the eye symbol. You can add it to an existing slide or create a new one. To add a new slide, click the “+” button in the toolbar. It’s that simple!
If you’re working on a slide with text or images, make sure there’s enough space for your design. You don’t want the eye symbol to feel cramped. Adjust the layout if needed by dragging elements around.
Now that your slide is ready, it’s time to explore the tools in Google Slides. These tools make it easy to create shapes and designs, including your eye symbol. You’ll find everything you need in the toolbar at the top of the screen.
Here’s how you can access and use the shape tools:
These tools are perfect for creating custom designs. While Google Slides doesn’t have built-in icons for an eye symbol, you can easily make one using these features. Experiment with different shapes and tools to bring your vision to life.
By now, you should feel comfortable navigating Google Slides and using its shape tools. In the next section, we’ll dive into the fun part—drawing the eye symbol!
To start creating your eye symbol, you’ll need to draw the basic outline. Here’s how you can do it step by step:
If you want a more precise shape, hold the SHIFT key while dragging to create a perfect circle. For an eye shape, you can stretch the oval horizontally by dragging the blue adjustment nodes.
Once you’ve drawn the outline, it’s time to fine-tune its size and position. Use these tips to get it just right:
These steps ensure your eye symbol looks balanced and fits perfectly on your slide.
Now that you have the eye outline, it’s time to add the pupil. Follow these steps:
For a polished look, make the pupil slightly smaller than the center of the eye outline.
To make your eye symbol more realistic, add highlights or other details. Here’s how:
These small touches can transform a simple design into a customized eye symbol that stands out.
Symmetry is key to making your eye symbol look professional. Use the alignment tools in Google Slides to ensure everything lines up perfectly:
Once everything is aligned, group the shapes to keep them together. This makes it easier to move or resize the entire eye symbol without disrupting its layout.
Grouping simplifies object management and ensures your customized eye symbol stays intact as you work on your presentation.
By following these steps, you’ll have a polished and professional eye symbol ready to use in your Google Slides presentation.
Once you’ve created your eye symbol, it’s time to make it pop with some color and style changes. Google Slides offers plenty of options to help you customize your design. You can tweak the colors to match your presentation’s theme or experiment with gradients for a more dynamic look.
Here’s what you can do:
Don’t forget about the border! You can change the border color by selecting the shape, clicking on the Border Color option, and picking a new shade. This small detail can make your eye symbol stand out even more.
If you want to take it further, try using the word art option to add text elements around your design. This can give your slide a creative and polished look.
Adding shadows is a simple way to give your eye symbol a 3D effect. It makes the design look more realistic and visually appealing. Google Slides has built-in tools to help you achieve this.
Follow these steps to add a shadow:
Play around with these settings until you’re happy with the result. Shadows can make your eye symbol feel more dynamic and professional.
Customizing doesn’t stop at colors and shadows. You can explore creative ways to make your eye symbol unique. Here are some ideas to try:
Don’t be afraid to get creative! You can even combine these techniques to create a design that’s truly one of a kind. Whether you’re going for a minimalist look or something more detailed, the customization options in Google Slides give you the freedom to bring your vision to life.
Once you’ve created your eye symbol, saving it as a grouped object is a smart move. Grouping combines all the individual shapes into one unit, making it easier to manage. Here’s how you can do it:
Now, your eye symbol acts as a single object. This simplifies things when you need to move or resize it. Grouping also ensures that the alignment and spacing between the parts stay consistent. You won’t have to worry about accidentally shifting one piece out of place. Plus, if you decide to tweak the design later, you can ungroup the shapes, make your changes, and regroup them.
Using grouped objects in Google Slides has several advantages:
Need to use your eye symbol on multiple slides? Copying and pasting it is the quickest way to go. Here’s what you do:
You can repeat this process as many times as you need. If you’re working on a presentation with a consistent theme, adding the same eye symbol across slides can help tie everything together. It’s a great way to add icons that reinforce your message without overwhelming your audience.
Want to use your eye symbol outside of Google Slides? You can export it as an image file. This is perfect if you’re creating custom icons for other projects or presentations. Follow these steps:
This saves your eye symbol as an image file on your computer. PNG files are great for maintaining transparency, while JPEGs work well for solid backgrounds. Once saved, you can insert the image into other slides, documents, or even websites.
Exporting your design gives you the flexibility to reuse it wherever you need. Whether you’re working on a new project or sharing your custom icons with others, this feature makes it easy to repurpose your work.
By saving, copying, and exporting your eye symbol, you’ll have a versatile design element ready to enhance any presentation. These steps ensure your hard work doesn’t go to waste and can be used again and again.
Animations can make your eye symbol more exciting and fun. They help your presentation stand out and keep your audience interested. From simple fade-ins to blinking effects, Google Slides offers many animation choices. Let’s learn how to animate your eye symbol step by step.
Simple animations are great for catching attention without being too flashy. Google Slides has easy options to animate your eye symbol:
To add these animations, click on your grouped eye symbol, go to Insert, and pick Animation. Choose your favorite effect and adjust the speed and start time. Keep it simple so it doesn’t distract your audience.
Tip: Always check your animations to make sure they look smooth and match your slide’s flow.
Want your eye symbol to blink? This adds a fun and lively touch to your slide. Follow these steps:
Repeat this process for more blinks. Adjust the timing to make the blinking look natural. This effect adds personality to your presentation.
For more creative effects, try advanced animation tools in Google Slides. These let you create unique and complex movements:
To use these, open the Animation pane and explore the advanced settings. Mix and match to find what works best for your slides.
Note: Don’t overuse animations. Too many can confuse your audience and take away from your message. Use them to highlight key points or add creativity.
By animating your eye symbol, you make your slides more fun and memorable. Whether you use simple effects or advanced tools, animations can make your presentation shine.
Looking for an easier way to design slides? PageOn.ai can help! This smart tool uses AI to make creating visuals and symbols faster. It offers features that go beyond what you can do by hand in Google Slides. Let’s see how PageOn.ai can improve your design process.
PageOn.ai makes designing simple by doing the hard work for you. Instead of spending hours on layouts or shapes, let AI handle it. Here’s why it’s great:
With PageOn.ai, you can focus on your ideas while it handles the visuals. It’s like having a designer ready to help anytime!
PageOn.ai uses AI to turn your ideas into great slides. Just add your content, and it arranges everything in a nice layout. This is perfect if you find designing layouts tricky or want to save time.
Need special icons or pictures? PageOn.ai can make them for you. Unlike Google Slides, where you draw shapes yourself, this tool creates unique designs using AI. You can even change them to match your style.
PageOn.ai is awesome for making charts and graphs. Whether it’s a roadmap, pie chart, or bar graph, it offers options that are easy to customize. This makes showing data simple and clear.
Starting with PageOn.ai is easy. Log in and go to the design tool. Here, you’ll find templates and options to start your project quickly.
Making an eye symbol is super simple. Type what you need, and the AI will create it for you. You can then change the colors, shapes, and styles to fit your slide. Want to add shadows or gradients? Just click to apply them.
When your eye symbol is done, save it as an image or vector file. This makes it easy to add to your Google Slides or other platforms. The saved design will look sharp and professional wherever you use it.
PageOn.ai doesn’t just save time—it makes your presentations better. Whether you’re designing symbols or full slides, this tool makes the process fun and stress-free.
Making an eye symbol in Google Slides is simple. You can design, save, and animate it to make slides fun. The coolest part? You can change everything, like colors and shadows. Try adding effects or using custom word art for flair. Want more advanced tools? PageOn.ai can help you create even better designs. Don’t be afraid to try new ideas and styles. Your creativity will make your slides unique and impressive!

Make information more influential


